Andre
- 4,296
- 73
This is what happens to roses after a night in the drizzle. I'm sure, Drizzle, that you'll think of a witty reaxion. 
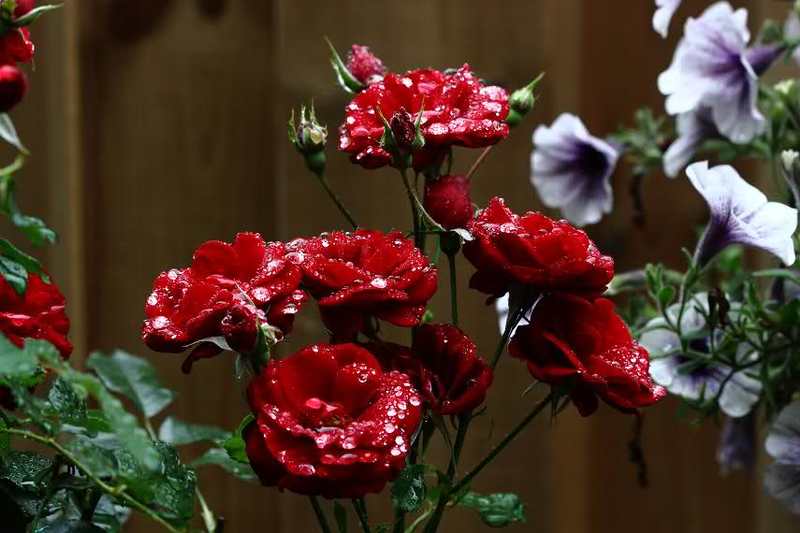
Unfortunately, the day was still dull, so I had to tweak contrast to get some dynamics back in the exposure.
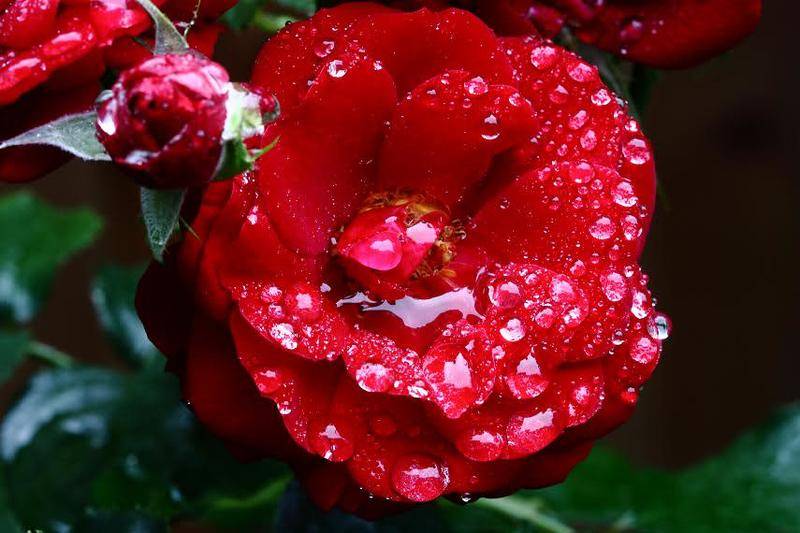

and sure enough, -you know me- getting in a bit closer:

I was also contemplating a bit about photographic noise, especially visible in the darker parts and at higher ISO sensitivities, which is subject of countless photographic discussions. The sensor of cameras has basically one sensitivity only. It's the post-picture-processing that manages ISO sensitivity. So, in the end it's the total amount of light that reaches the sensor, which determines the signal to noise ratio, apart from the quality of the sensor. Of course you can apply noise reduction, but at the cost of sharpness and fine details. So, if noise is a problem for real big poster size prints, it might be an idea to over expose and tweak back the contrast, while processing the RAW picture.
So I did that with the last picture, which is basically over exposed two stops and then processed back using the RAW editor of DPP. Here you can see the difference between a correct exposure to the left and to the right, the over exposed version, processed back with contrast and exposure adjustment during RAW processing:

On top thumbnails of the original unprocessed JPG output at 7% size and below that, a life size crop of a part of the lower right corner (out of focus)of the processed RAW output. Both frames have been sharpened and tweaked a bit or a lot for the right hand one, but no noise reduction was applied. Finally on the bottom, extreme blow ups to show the favorable effect of overexposure on the signal to noise.
So, if noise is to be reduced as much as possible without sacrificing details and sharpness, use RAW, over expose one or two stops, and tweak back.
Unfortunately, the day was still dull, so I had to tweak contrast to get some dynamics back in the exposure.
and sure enough, -you know me- getting in a bit closer:
I was also contemplating a bit about photographic noise, especially visible in the darker parts and at higher ISO sensitivities, which is subject of countless photographic discussions. The sensor of cameras has basically one sensitivity only. It's the post-picture-processing that manages ISO sensitivity. So, in the end it's the total amount of light that reaches the sensor, which determines the signal to noise ratio, apart from the quality of the sensor. Of course you can apply noise reduction, but at the cost of sharpness and fine details. So, if noise is a problem for real big poster size prints, it might be an idea to over expose and tweak back the contrast, while processing the RAW picture.
So I did that with the last picture, which is basically over exposed two stops and then processed back using the RAW editor of DPP. Here you can see the difference between a correct exposure to the left and to the right, the over exposed version, processed back with contrast and exposure adjustment during RAW processing:
On top thumbnails of the original unprocessed JPG output at 7% size and below that, a life size crop of a part of the lower right corner (out of focus)of the processed RAW output. Both frames have been sharpened and tweaked a bit or a lot for the right hand one, but no noise reduction was applied. Finally on the bottom, extreme blow ups to show the favorable effect of overexposure on the signal to noise.
So, if noise is to be reduced as much as possible without sacrificing details and sharpness, use RAW, over expose one or two stops, and tweak back.
Last edited:
 .