fizixfan
- 105
- 35
I'm just posting the bare bones of this experiment to begin with, as it was quite the task just to attach all the photos in the proper order. But this is about quantum weirdness, and how it can be demonstrated at home with polarized film, a straight piece of thin wire, and a red laser pointer. It's based on an article in Scientific American from April 14, 2007 called "A Do-It-Yourself Quantum Eraser." I think I've done this properly and I'm fairly satisfied with the results.
I will elaborate on this in the near future. For now, I hope the pictures can speak for themselves.
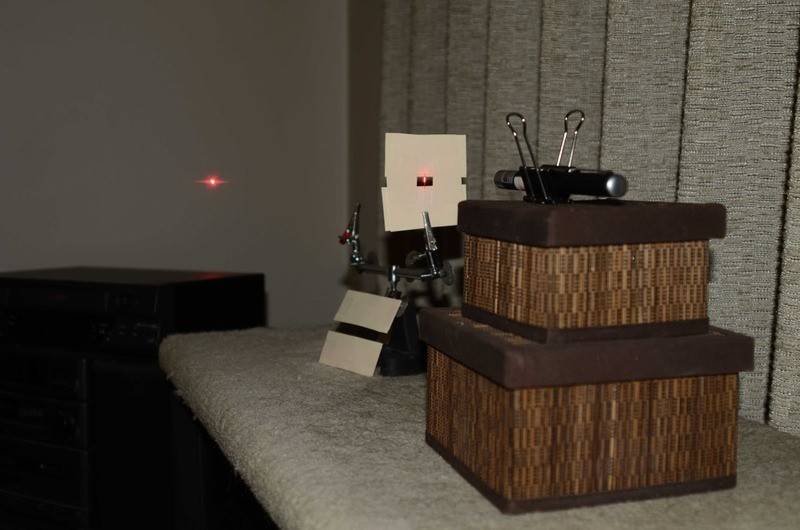
Figure 1. Apparatus (red laser pointer, single wire only without path labeler, & diffraction pattern on wall)
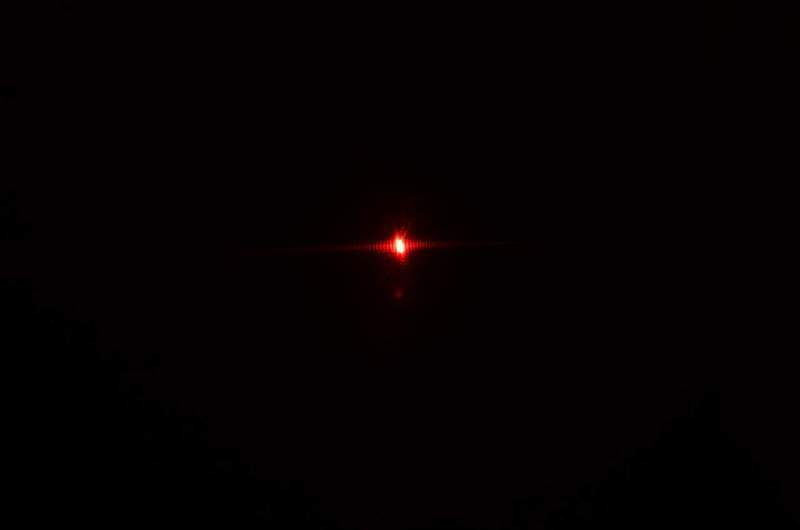
Figure 2. Close-up of diffraction pattern on wall from laser beam passing through single wire.
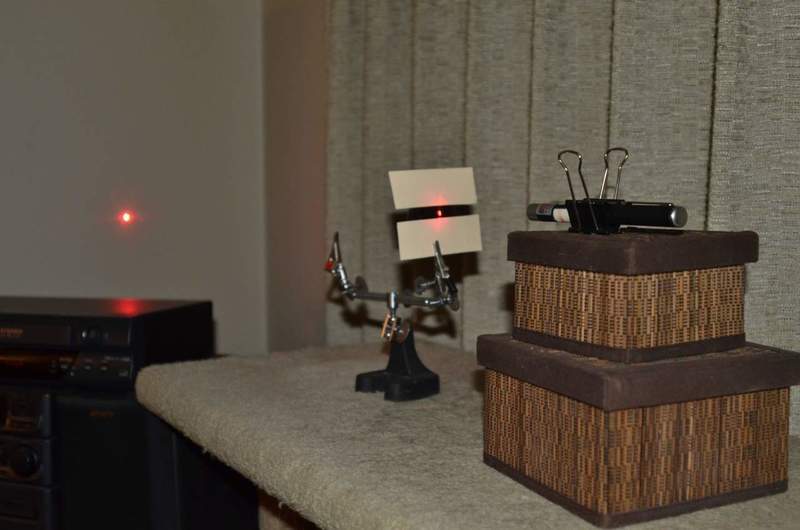
Figure 3. Apparatus with path labeler and collapsed diffraction pattern on wall.
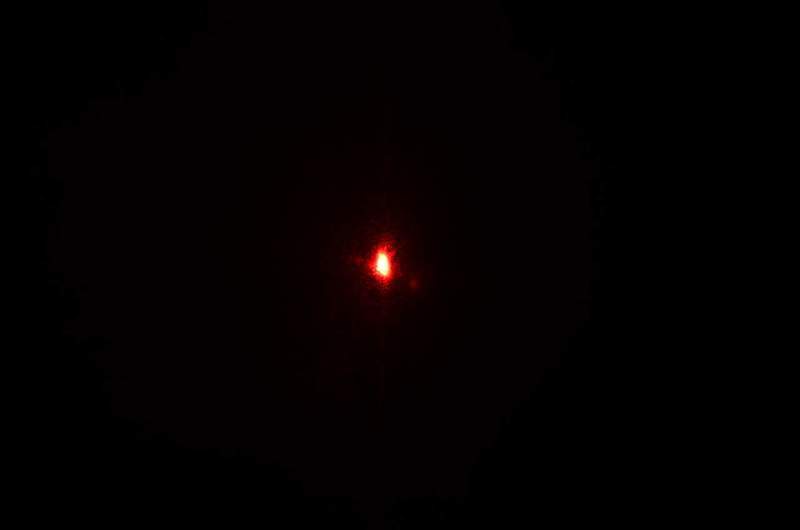
Figure 4. Close-up of collapsed diffraction pattern on wall after passing through path labeler.
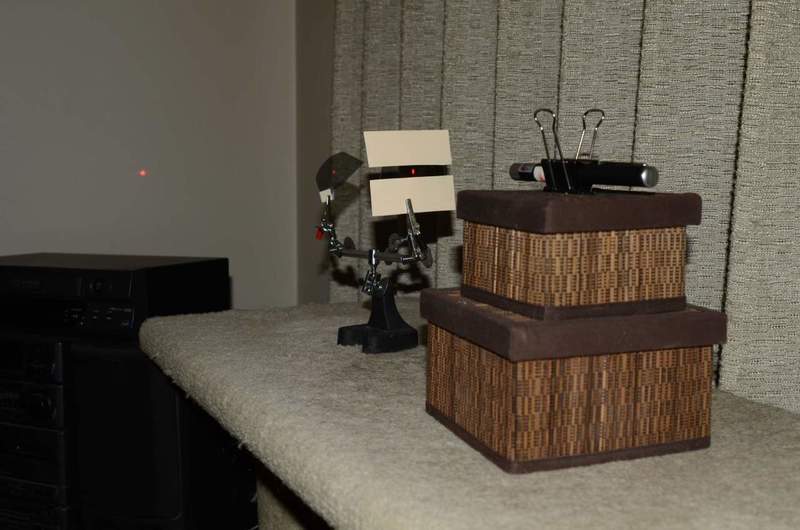
Figure 5. Apparatus with path labeler and analyzer with restored interference pattern on wall.
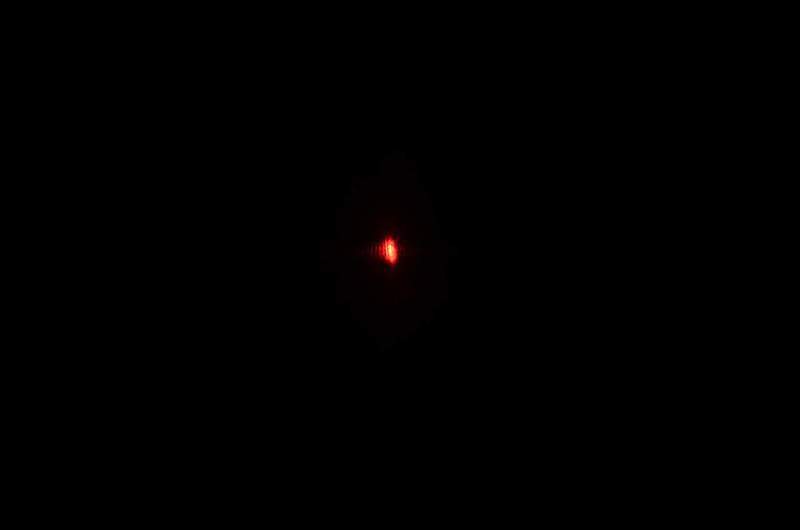
Figure 6. Close-up of restored diffraction pattern on wall after passing through path labeler and analyzer.
I will elaborate on this in the near future. For now, I hope the pictures can speak for themselves.
Figure 1. Apparatus (red laser pointer, single wire only without path labeler, & diffraction pattern on wall)
Figure 2. Close-up of diffraction pattern on wall from laser beam passing through single wire.
Figure 3. Apparatus with path labeler and collapsed diffraction pattern on wall.
Figure 4. Close-up of collapsed diffraction pattern on wall after passing through path labeler.
Figure 5. Apparatus with path labeler and analyzer with restored interference pattern on wall.
Figure 6. Close-up of restored diffraction pattern on wall after passing through path labeler and analyzer.
Last edited: