As to darkening the background in this shot, its all layers and selection. Your flower is definitely in a different color range to the background, so use a color selection method to select most of the flower (I found the Magic Wand with a tolerance of 112 to be fine), then switch to QuickMask mode and paint in the green parts near the pistil and erase the little part of the background that is in range (use soft edges). You could also use standard selection tools with "additive selection" turned on. Switch back out when you're done to get back your selection, then go to Layer > New > Layer via Copy. On the Layers palette, switch to the Background layer and go to Layer > New Adjustment Layer > Hue/Saturation and adjust the saturation/lightness sliders until you get the darkened effect you want. Since this is a layer, the original background image is still untouched and you can keep changing the properties however you want. (If you notice glaring errors in your flower layer, you can further refine your edges by Ctrl+clicking on that layer to "select visible" then either using Select>Modify>Feather..., feathering the edge by 3 or more pixels then Select > Inverse and deleting the feathered inverse, or by manual correction using any of the selection tools (although QuickMask does a very good job of making sure your edges are not unrealistically sharp since you can use soft brushes and erasers and you are able to see your soft selection before committing to it).

)
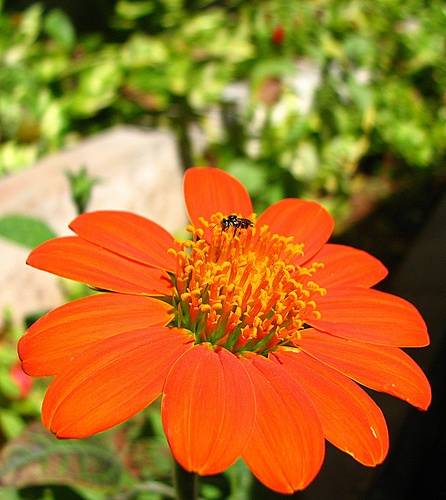

 Don't know how to do it with photoShop yet. That would be a question for one of those forums I listed in an earlier post.
